S-PAutomotive.com

Author Topic: DIY Dash LED's  (Read 10752 times)

March 17, 2009, 11:42:47 pm

Smokey Eddy

  • Veteran

  • Offline
  • ***

  • 3468
    • McScrubbins Body Wash
DIY Dash LED's
« on: March 17, 2009, 11:42:47 pm »
    I wanted red LED's after seeing THIS link... DO READ THE LINK
    http://forums.vwvortex.com/zerothread?id=4206297
    You can do what he did or you can do a "better" ;) DIY and do it my way!
    Be careful should you choose to just follow that thread. Your LEDs are very specific to amperage so unless you get exactly the same ones he did you will need to calculate what resistance you want.
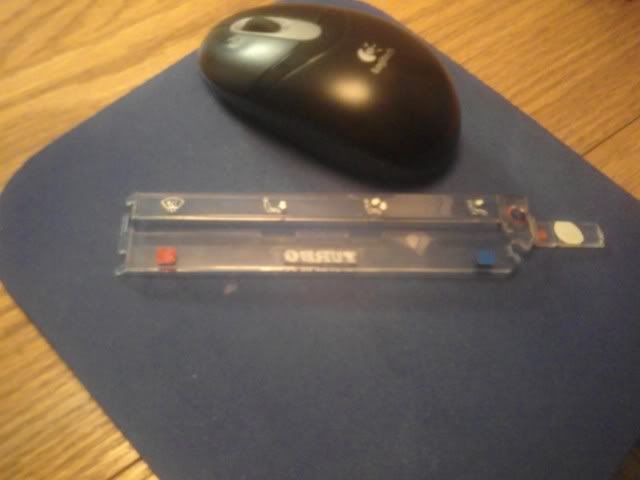
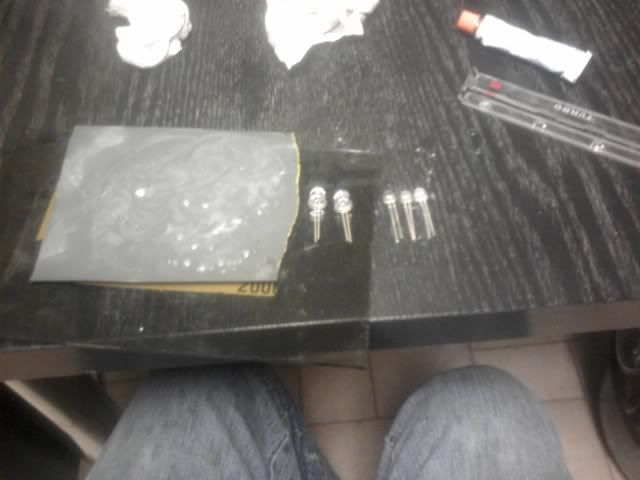
    Supplies!
      Very small gauge wire. I'd say 22.
      a soldering iron with solder
      LED's of course!
      resistors - see the
    RED TEXT at the bottom of this page to figure out what resistors you need
    a dremel with a grinding stone and cutting disks (not essential)
    emery cloth (80grit) and wet dry (240?) can replace the dremel, they are just slower. Totally up to you what grits you want.
    and wire strippers of course[/list]

    Here are some useful pics from the thread I stole this from


    And for my pics!

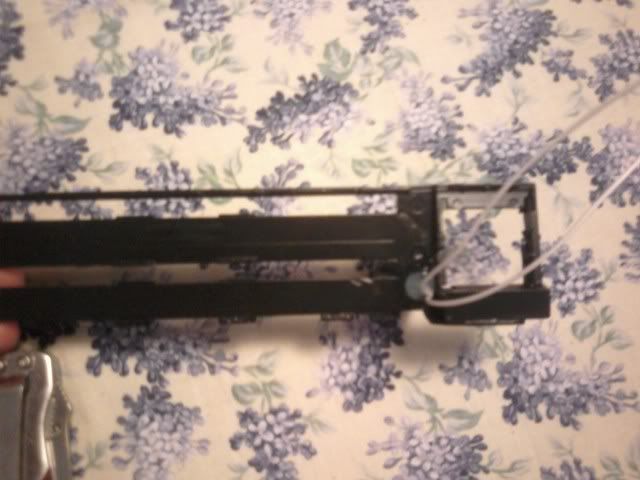
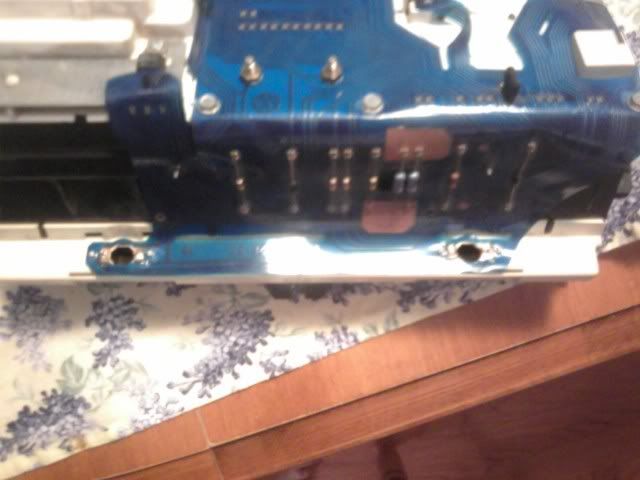
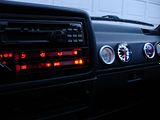
    I painted the backing of the heater control panel semi-gloss black.


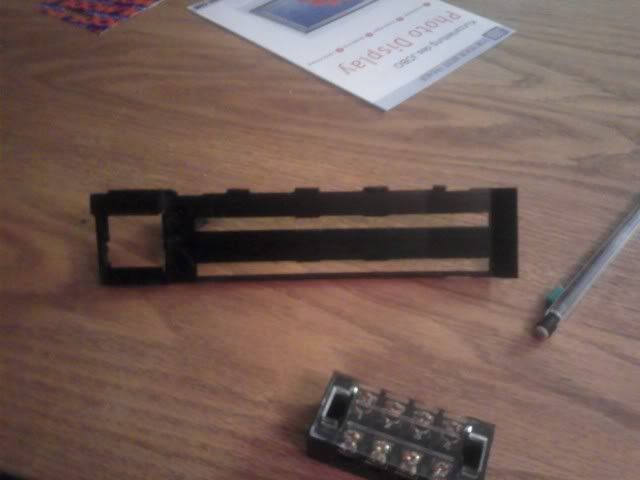
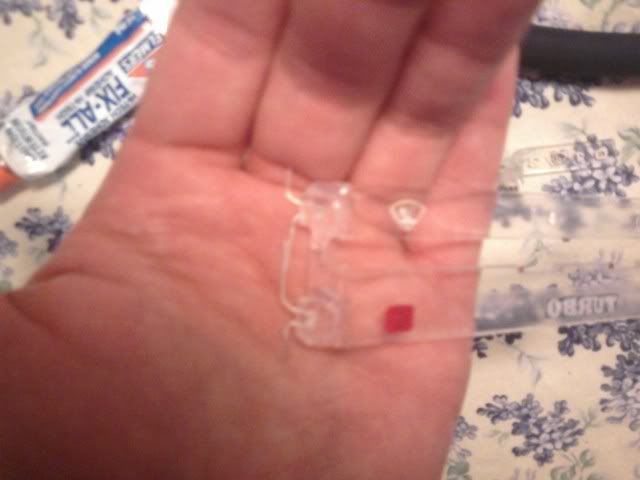
    I dremeled out three spots for LED's in the graphics plastic piece UNLIKE the DIY link i posted up top. The hole circled in RED is where the old light used to go. The wires will now go through this hole.


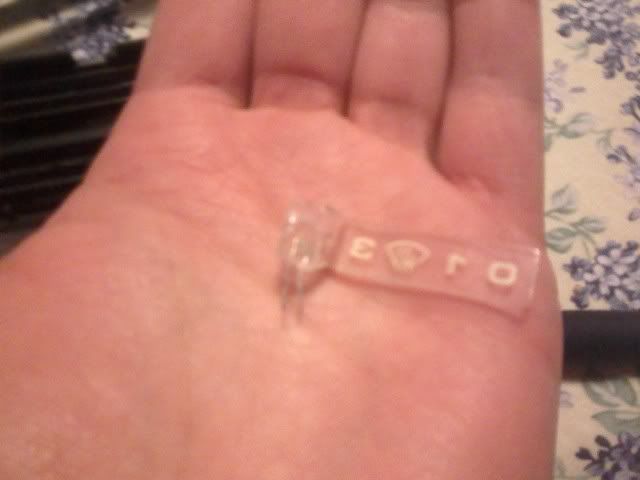
    And just one here... because they are in the same place when you put it together.


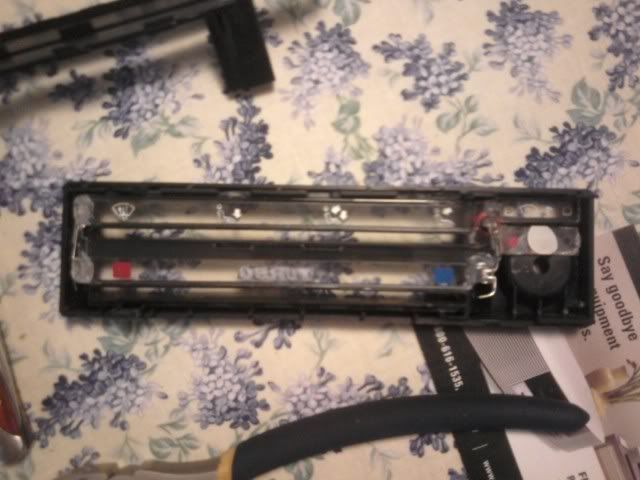
    This is straight from the original thread. Solder wires to the pins that you pulled from the control unit and put them back in.
     I used elmer's all purpose glue. Phew that stuff stinks!


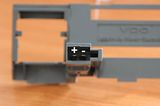
    BE EXTRA SURE TO GLUE THE LED'S IN THE RIGHT WAY!!! Look at the LED polarity pic.
    you want to link them + to -, + to - and so on. Make sense?

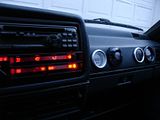
    Unfortunately i didn't take a pic of my wires soldered in with the resistors
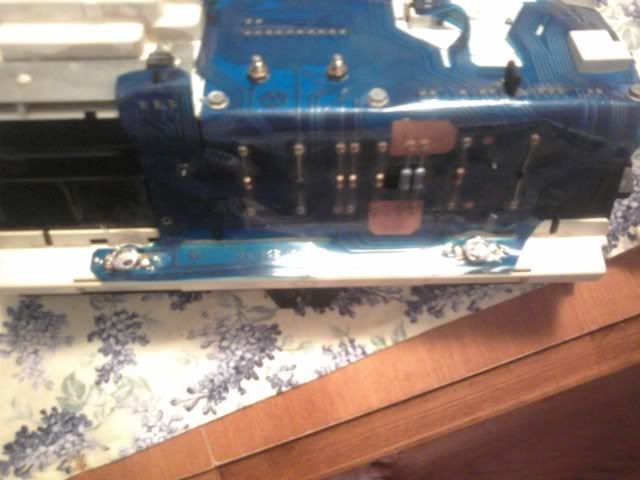
    but i had my resistors running along the very bottom of the unit as displayed here


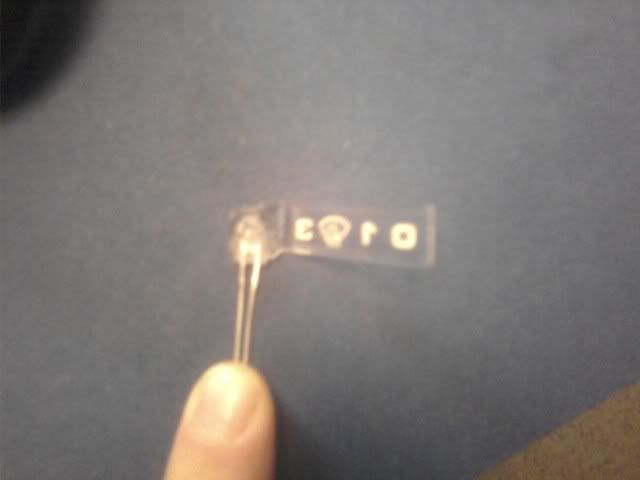
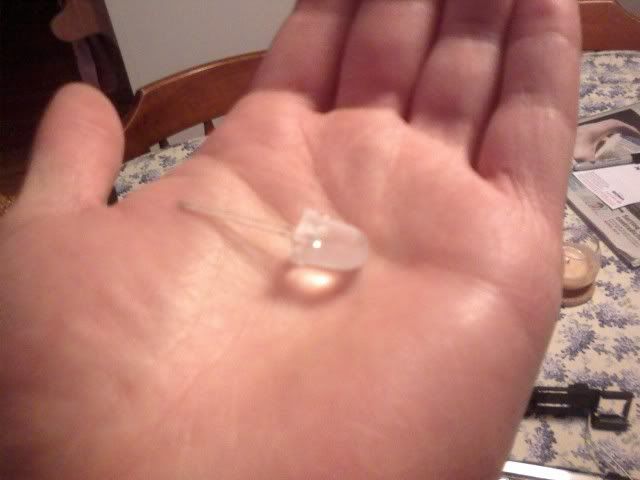
    I used a dremel to get the 10mm LED's i used to a usable size and then sanded them to shape.
    The glass gives a flat finish. The 240 i used left them a little cloudy. You may want to use or polish with 500.


    a couple pics of the cut outs


    and the 10mm LED


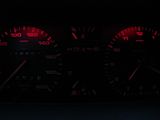
    The Dash cluster unit was very very easy. I sanded the 10mm LED's to fit into where the other light fixtures went and they wedged in nicely.
     
    A very important bit of info here is that each light on the dash here seems to get it's own power? I may be wrong but that is what i found.
     so i resisted each LED down to 22 milliamps (per my LED's yours will be different).
    My point is, i tried putting 1 resistor in the series and the non-resisted LED burnt instantly.


    And here it is buttoned together!


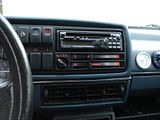
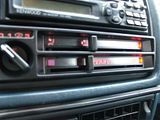
    The dash was a bit dimmer with only two LED's but i can read it clearly.
    The 4 LED set up is extremely bright with 48k LED's.


    I added a switch to my gauge lights so that i can turn them off on long drives and
    my passenger doesn't want to be annoyed by them at night.

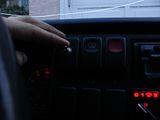
    You can do this for the heater control too if you like!


    Anywho, I hope this is useful to at least someone. I'm happy with it.
     If you're unsure about resistor values just PM me OR use this formula

    V*=IR

    I = current (My LED's are rated for 22 miliamps +/- 5)
    V = voltage (12V for us!)
    R = resistance (What resistor value you need)

    so my example is...

    (LED's are rated in Milliamps.
    http://www.simetric.co.uk/siprefix.htm)

    NOW, each of my LED's are rated to drop 2V per LED in the series.
    You really need to be EXACTLY SURE what your LED's are rated for!

    V*=IR

    Voltage
    V = 12V - (4 LED's * 2v each = 8v)
    V* = 4V (this is the V you use in the formula because it is the Voltage WITH the drop incorporated)

    Current
    I = 0.022 Amps (given from LED rating)

    Resistance
    Is determined by your amperage and voltage drop. So this is dependent on what LED's you use.
    My example is...
    4V = (0.022)(R)
    R= 4/0.22
    R = 181 ohms.
    Any value close to this works fine. It's better to OVER resist than to under resist.
    So i chose two 100 ohm resistors to get a total of 200 ohms.


    And there we have it.

    Cheers,
    Ed[/list]
    « Last Edit: March 07, 2010, 10:04:07 pm by Smokey Eddy »


    Ed
    Blacked out mk2 AAZ Jetta RIP. You are missed.
    White 1999.5 ALH Golf 2dr. Low & wide. Rammed off the road RIP.
    Blue 2009 CR140 Jetta CBEA/CJAA. Malone stage 2. EGR/DPF/Exhaust-valve deletes. 2.5" open exhaust. ADP Turbo swap. 1-stage nitrous kit. THROWN ROD

    Reply #1March 18, 2009, 12:13:46 am

    8v-of-fury

    • Guest
    DIY Dash LED's
    « Reply #1 on: March 18, 2009, 12:13:46 am »
    VERRY NOICE! IMO much better then the original post, because it was created by someone in the diesel Forum. lol

    That turned out pretty damn good eh!? Good writeup as well. I like how you took the exact same pictures the other guy did :) lol

    I'm sure this will be used by many who wish to upgrade to better than stock (CRAP) lighting lol

    Good job ED

    Reply #2March 18, 2009, 05:28:55 am

    Smokey Eddy

    • Veteran

    • Offline
    • ***

    • 3468
      • McScrubbins Body Wash
    DIY Dash LED's
    « Reply #2 on: March 18, 2009, 05:28:55 am »
    Yes, this is just a regurgitation of what was previously posted on the vortex. It's just an inexpensive version. No laser cutting. No custom plastic molds and so on. But i would never take credit away from that thread. It looks flipping awesome. Just not ... worth ... it... to some ... and just changing to LED's (i hopefully showed) is very easy.

    please post feed back. I want to know if I'm wasting the forum's and you people's time.
    Ed
    Blacked out mk2 AAZ Jetta RIP. You are missed.
    White 1999.5 ALH Golf 2dr. Low & wide. Rammed off the road RIP.
    Blue 2009 CR140 Jetta CBEA/CJAA. Malone stage 2. EGR/DPF/Exhaust-valve deletes. 2.5" open exhaust. ADP Turbo swap. 1-stage nitrous kit. THROWN ROD

    Reply #3March 18, 2009, 09:37:35 am

    saurkraut

    • Veteran

    • Offline
    • ***

    • 904
    DIY Dash LED's
    « Reply #3 on: March 18, 2009, 09:37:35 am »
    42 Draft Designs has plug-and-play LEDs that have a resistor inside the bulb.  They are polarity sensitive though,  So if you plug one in and it doesn't light, turn it around.

    I think I bought these for my dash lights:


    I put them in my '79 two years ago, and they're working fine.

    Here's a link:

    http://store.42draftdesigns.com/Mini-Wedge-Style-LED-_p_29.html
    '79 1.6TD RABBIT
    '84 1.5TD RABBIT
    '83 Diesel Westy
    '86 Audi 5000 Turbo Quatro Wagon
    92 Audi 100
    '93 Eurovan
    '82 Porsche 930

    Reply #4March 18, 2009, 12:21:44 pm

    Op-Ivy

    • Veteran

    • Offline
    • ***

    • 514
    DIY Dash LED's
    « Reply #4 on: March 18, 2009, 12:21:44 pm »
    Wow... Those LED's are nice saur but they are 5 bucks a piece!  :shock:

    Found the same thing here for $.79 a piece. http://www.superbrightleds.com/mini-wedge.html
    1990 TD Jetta - 490,000Km

    Reply #5March 18, 2009, 12:47:32 pm

    saurkraut

    • Veteran

    • Offline
    • ***

    • 904
    DIY Dash LED's
    « Reply #5 on: March 18, 2009, 12:47:32 pm »
    Cool.  Just added to my favorites.  I have LEDs in my dash, and tail lights.  I tried to get them to go in my turn signals, but I couldn't find an LED flasher that would work.  i tried a couple and gave up on them.  The incandecents were brighter in the front bumper combination lights any way.  And I did it mainly for visibilty, as i have to dodge brain dead SUV drivers on a regular basis.  I was hoping LEDs would help, but the front LEDs actually reduced visabilty.  Maybe I'll try some from Superbright.
    '79 1.6TD RABBIT
    '84 1.5TD RABBIT
    '83 Diesel Westy
    '86 Audi 5000 Turbo Quatro Wagon
    92 Audi 100
    '93 Eurovan
    '82 Porsche 930

    Reply #6March 18, 2009, 04:44:52 pm

    Smokey Eddy

    • Veteran

    • Offline
    • ***

    • 3468
      • McScrubbins Body Wash
    DIY Dash LED's
    « Reply #6 on: March 18, 2009, 04:44:52 pm »
    the LED's i picked up off ebay were 50 cents each and they came with resistors for 12v. but when you put LED's in a series like this you have to resist them properly. Those LEDs with built in resistors will not work for the heater control application at all...
    But they will for sure with the gauge cluster. My thinking is if you're soldering them onto it already why not just solder the resistor on the LED your self and save $4.50 (90%) of the cost?
    Cool idea though. That has endless application for all the components that have 1 light and are powered individually.

    The total cost of me LED set up was about
    $3 + some solder + a sheet of used wet dry i already had and i guess 1 cutting disk for my dremel. So round up to $4? Edit: and a dab of glue.

    and it took about 2 hours while watching TV. If you sat down and just did it im sure you could do it in 45 minutes. Getting the heater control console apart is the hardest part by far.
    Ed
    Blacked out mk2 AAZ Jetta RIP. You are missed.
    White 1999.5 ALH Golf 2dr. Low & wide. Rammed off the road RIP.
    Blue 2009 CR140 Jetta CBEA/CJAA. Malone stage 2. EGR/DPF/Exhaust-valve deletes. 2.5" open exhaust. ADP Turbo swap. 1-stage nitrous kit. THROWN ROD

    Reply #7March 18, 2009, 05:43:33 pm

    Smokey Eddy

    • Veteran

    • Offline
    • ***

    • 3468
      • McScrubbins Body Wash
    DIY Dash LED's
    « Reply #7 on: March 18, 2009, 05:43:33 pm »
    Quote from: "saurkraut"
    I tried to get them to go in my turn signals, but I couldn't find an LED flasher that would work.  i tried a couple and gave up on them.  


    What do you mean?
    If the LED's are resisted properly you should just be able to swap them where your old bulbs were... you shouldn't need anything fancy i don't think.
    Just check if the voltage spikes or something while flashing?... You shouldn't "need" anything extra.

    Maybe a voltage regulator.
    I'm thinking of drawing up one[a V regulator for LEDs] you could make and posting it here.
    Ed
    Blacked out mk2 AAZ Jetta RIP. You are missed.
    White 1999.5 ALH Golf 2dr. Low & wide. Rammed off the road RIP.
    Blue 2009 CR140 Jetta CBEA/CJAA. Malone stage 2. EGR/DPF/Exhaust-valve deletes. 2.5" open exhaust. ADP Turbo swap. 1-stage nitrous kit. THROWN ROD

    Reply #8March 19, 2009, 09:44:58 am

    saurkraut

    • Veteran

    • Offline
    • ***

    • 904
    DIY Dash LED's
    « Reply #8 on: March 19, 2009, 09:44:58 am »
    Quote from: "Smokey Eddy"

    What do you mean?
    If the LED's are resisted properly you should just be able to swap them where your old bulbs were... you shouldn't need anything fancy i don't think.
    Just check if the voltage spikes or something while flashing?... You shouldn't "need" anything extra.

    Maybe a voltage regulator.
    I'm thinking of drawing up one[a V regulator for LEDs] you could make and posting it here.


    My main reason for installing LEDs in my exterior lights was to improve the visibility of the front combination lamps.  Other drivers had a tendency to do bizarre things in front of me when I had my turn signals on.  I suspected that they couldn't see the incandescent lights well enough during daylight hours.   On my '79, they're in the front bumper.

    Behold their blazing glory:


    And the rear lamps:


    I figured, what the heck, get all the 1156 & 1157 LED bulbs and change everything.  The place I bought them from was (was) in California.  They're out of business now.  Their web page recommended going to a solid state relay when using their LEDs for turn signals.  So i bought the LED bulbs from them, and a solid state relay from NAPA.  When I put them and the solid state flasher all in, the flashers wouldn't work.  I put the incandescent lights back in the rear lights, as I wanted a better signal in front.  Still nothing.  I put the stock flasher back in and the turns would flash all around; LEDs in the front, incandescent bulbs in the rear turns.  However, the front bumper LEDs were nice and bright if you squatted down and viewed them on axis, right in front of the car.  But if you stood up, or moved to the side, they were less visible than the incandescent bulbs.  So I said screw it, and put the incandescent bulbs back in the front combination lamps.  Presently the rear red running lights, and brake lights are still LEDs, but the turns all around are good old incandescent 1157s.

    The 1156 and 1157 LED bulbs were a cluster of LEDs facing out of the socket with a ring of LEDs below them arranged in a ring, perpendicular to the socket.  I suspect that front combination lamps have such a poor reflector design, the the side LEDs were missing it entirely.  The rear lights have better reflectors, and the LEDs appear to be superior to the incandescent bulbs back there.

    I may try a different 1157 type LED in the front this summer and see if they work better.
    '79 1.6TD RABBIT
    '84 1.5TD RABBIT
    '83 Diesel Westy
    '86 Audi 5000 Turbo Quatro Wagon
    92 Audi 100
    '93 Eurovan
    '82 Porsche 930

    Reply #9March 19, 2009, 04:48:51 pm

    Smokey Eddy

    • Veteran

    • Offline
    • ***

    • 3468
      • McScrubbins Body Wash
    DIY Dash LED's
    « Reply #9 on: March 19, 2009, 04:48:51 pm »
    The bulb shape of the LED's is designed to make them focus the light forward like a flashlight.

    Try shining an LED on the wall and you'll see a very definate circle.
    Just look at the heater panel in one of my higher res pics up there. The changed shape causes the LEDs to dispurse all their light everywhere. Thats why the sides look soo much brighter even from a side view, which is what you're looking at... a side view of the LED's where you normally would have barely been able to tell that they were on.

    You could try sanding the LED's into a different shape to disperse the light more? But i would just go with the incandescent bulbs to be honest. ... You'd need some fancy LED's to be bright enough  to see in day light. More-so than your incandescent ones anyways...
    LED running lights are a good idea though because those are always viewed from the front or back head on.


    Edit:

    A second excellent example of the shape that the LED's are made in from the factory are the LED's in my dash. Take a look at that picture and see how dim they are? that's two LED's with unchanged moldings. I think I would benefit from changing the conical shape of the LED so that it disperses more light rather than pointing it straight at the shielding on the inside of the gauge cluster.
    (the lights don't actually point at the gauges. They are just enclosed and point at a wall basically. I removed the green filter from mine obviously. That filter is where the enclosure is that im talking about.)
    Ed
    Blacked out mk2 AAZ Jetta RIP. You are missed.
    White 1999.5 ALH Golf 2dr. Low & wide. Rammed off the road RIP.
    Blue 2009 CR140 Jetta CBEA/CJAA. Malone stage 2. EGR/DPF/Exhaust-valve deletes. 2.5" open exhaust. ADP Turbo swap. 1-stage nitrous kit. THROWN ROD

    Reply #10March 19, 2009, 05:33:00 pm

    saurkraut

    • Veteran

    • Offline
    • ***

    • 904
    DIY Dash LED's
    « Reply #10 on: March 19, 2009, 05:33:00 pm »
    They weren't single point LEDs

    They were a whole wad of them with the 1156 and 1157 base.  Like these:


    See how they have a bunch all pointing straight out from the base, and a ring of them perpindicular to the base.

    They work good in a good reflector type lamp like the rears on my '79.  (The lights aren't on in the rear view picture in my previous post, just presented as an example of a well designed lamp assembly) But they are horse patuty in a horse patuty lamp like the combination lamps in my front bumper.

    The single LEDs with resistor I have in my dash plug right into the teeny sockets that the incandesent bulbs were in.  I just had to turn a couple around as they are polarity sensative.  Their lighting is indirect, and the illumination is good.  No sanding or soldering.
    '79 1.6TD RABBIT
    '84 1.5TD RABBIT
    '83 Diesel Westy
    '86 Audi 5000 Turbo Quatro Wagon
    92 Audi 100
    '93 Eurovan
    '82 Porsche 930

    Reply #11March 19, 2009, 05:42:39 pm

    Smokey Eddy

    • Veteran

    • Offline
    • ***

    • 3468
      • McScrubbins Body Wash
    DIY Dash LED's
    « Reply #11 on: March 19, 2009, 05:42:39 pm »
    Ahhh I see!

    Yes, i see now. Those plug & play ones aren't conical.
    Ed
    Blacked out mk2 AAZ Jetta RIP. You are missed.
    White 1999.5 ALH Golf 2dr. Low & wide. Rammed off the road RIP.
    Blue 2009 CR140 Jetta CBEA/CJAA. Malone stage 2. EGR/DPF/Exhaust-valve deletes. 2.5" open exhaust. ADP Turbo swap. 1-stage nitrous kit. THROWN ROD

    Reply #12March 20, 2009, 04:47:04 am

    Smokey Eddy

    • Veteran

    • Offline
    • ***

    • 3468
      • McScrubbins Body Wash
    DIY Dash LED's
    « Reply #12 on: March 20, 2009, 04:47:04 am »
    I've done about 100km of driving with the red lights and i love em.
    It gives the car a real modded look. You don't need to see under the hood to know it's probably not stock :P
    Ed
    Blacked out mk2 AAZ Jetta RIP. You are missed.
    White 1999.5 ALH Golf 2dr. Low & wide. Rammed off the road RIP.
    Blue 2009 CR140 Jetta CBEA/CJAA. Malone stage 2. EGR/DPF/Exhaust-valve deletes. 2.5" open exhaust. ADP Turbo swap. 1-stage nitrous kit. THROWN ROD

    Reply #13March 10, 2010, 01:59:35 pm

    8v-of-fury

    • Guest
    Re: DIY Dash LED's
    « Reply #13 on: March 10, 2010, 01:59:35 pm »
    How are the lights holdin up after almost a year Ed? Looks stellar, I plan on doing something similar.. just the mk1 heater controls are way different.. not laser etched.. but a screen printed sheet of plastic that the light shines through.. lol

    Reply #14March 10, 2010, 04:51:51 pm

    Smokey Eddy

    • Veteran

    • Offline
    • ***

    • 3468
      • McScrubbins Body Wash
    Re: DIY Dash LED's
    « Reply #14 on: March 10, 2010, 04:51:51 pm »
    The mk2 ones aren't laser etched either I dont think?
    most of it's paint.

    Still bright as ever thanks to using the correct resistors. Absolutely no issues to report. I think im going to see if i can't change the lights in my gauges now to match. And im going to go blue to match my stereo deck. EDIT: on second thought, the only thing i noticed was when using the dash dimmer on the head light switch the LED's don't dim very much. They do dim but compared to the incondescent lights the LED's don't change brightness all that much. But im not complaining about that.

    If you want to get the 1 million hours of what ever LEDs are rated to these days you would need a regulator controlling the V as accurately as you can since the voltage on our cars can range anywhere from 12.0 (relatively low) to 14.5 (charging a dead battery). I found building a regulator, how ever cheap and easy it would be, to not be nessisary. If you run an LED rated for slightly more watts than you're feeding it you'll be fine. It just won't be running at maximum brightness. In other words, resist it with a decent buffer zone for maximum wattage.

    figure out your voltage drop per resistor and the current draw they use and find the wattage for 14 volts and use that value to determine which resistors to use.
    Ed
    Blacked out mk2 AAZ Jetta RIP. You are missed.
    White 1999.5 ALH Golf 2dr. Low & wide. Rammed off the road RIP.
    Blue 2009 CR140 Jetta CBEA/CJAA. Malone stage 2. EGR/DPF/Exhaust-valve deletes. 2.5" open exhaust. ADP Turbo swap. 1-stage nitrous kit. THROWN ROD


    Fixmyvw.com