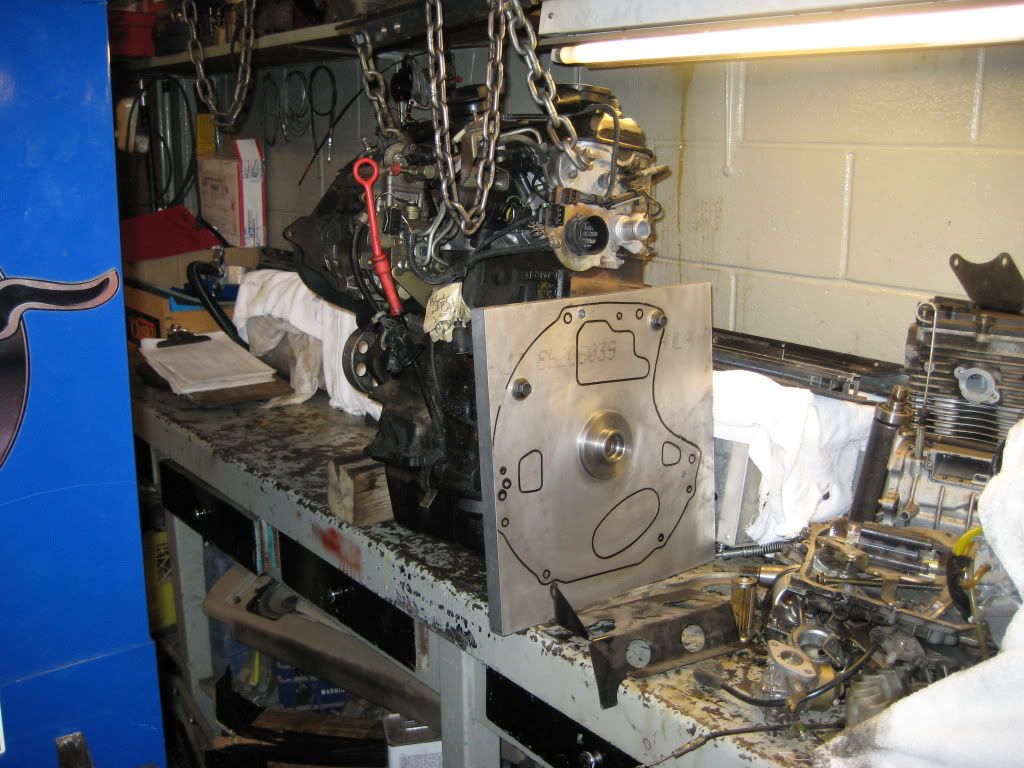
Well, I figure it's time to start a build thread on my latest project. This project started roughly this time last year when a good buddy of mine wanted to build a truck similar to my first Toyota pickup. So we started the search for an engine donor, which turned out to be a 1996 passat, and a truck to put it in. The first truck I built I bought a engine adapter kit from Acme which I was happy with but with shipping up to Canada it came out to $700. I wanted to do my own adapter plate this time so we started with a 15x15x1" piece of 6061 aluminum.
After my first Toyota truck build, I wanted to change a few things with the adapter plate.
1.The Acme kit uses an oilite bushing for the pilot bearing which press's into the vw crank. Toyota uses a ball bearing. I've had problems in the past on other vehicles with pilot bushings so I wanted to come up with a way to use a real bearing.
2.The acme kit only uses four bell housing bolts to secure it to the transmission when the Toyota transmission has eight. It would be nice to utilize all bell housing holes.
3.Clearance is tight between the vw engine and toyota firewall so why not make a thicker adapter plate to gain more clearance and leave the transmission, transfer case and drive shafts in there stock location.
So I started with a 1" plate which gave me an extra 5/8" between the engine and firewall, and utilized all the bell housing bolt holes. Since I increased the plate thickness by 5/8" I had to make a 5/8" spacer for the crank to keep everything where it should be. This crank spacer also allowed me to use a real pilot bearing. You can see the crank spacer in the picture minus the holes to bolt the flywheel up. The toughest part of this setup was finding bolts long enough to bolt the flywheel and spacer to the crank. M10x1X55. I had to settle on grade 8 bolts.
I could fine you the m10x1x55 in stainless if you wanted. Good job on the build.
Since the plate was thick enough, I was able to use socket head 12.9 bolts to hold the plate onto the engine. I removed the factory dowels and made my own on the engine side to make sure the plate goes back to the same spot every time. I don't have a pic of the VW side dowels.
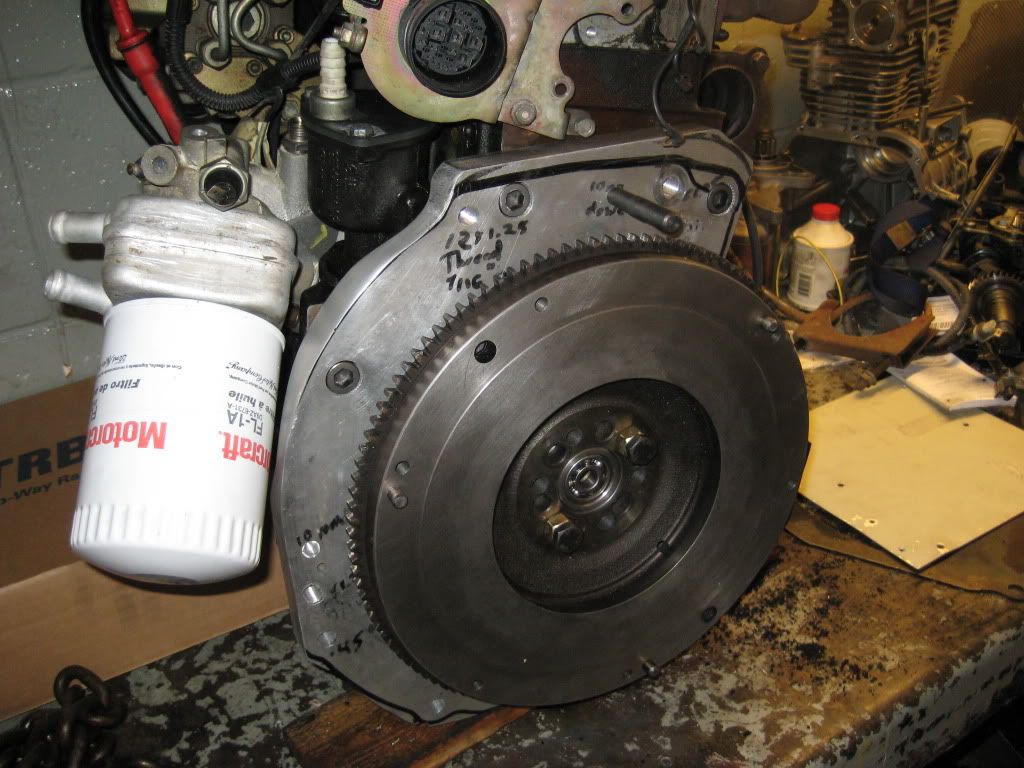
I used an oil filter adapter from an audi 1.8t. Worked perfect. The bearing in the pic was only for mock up and same goes for the Motocraft filter

. The real pilot bearing is sealed on both ends. The flywheel was the factory one from my first toyota. I made a tool up so I could mount the flywheel to a lathe and cut it myself. This is the first flywheel I've ever cut. It actually turned out pretty good.
Awesome! What did you cut the plate with?
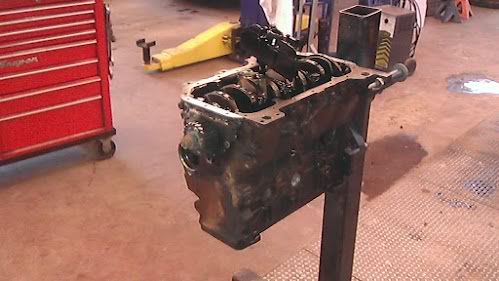
Everyone likes pictures so here we go. First we did a teardown of the motor.
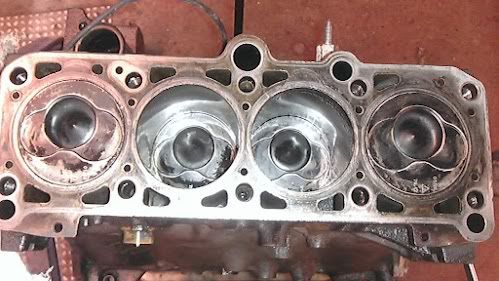
Cleaned the pistons up. The cylinders still looked really good. Still had a crosshatch.
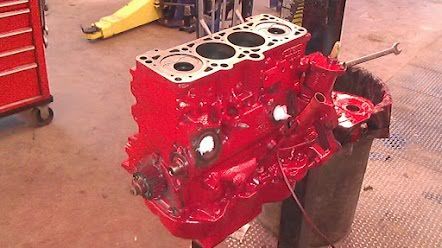
A little paint. Not black this time.
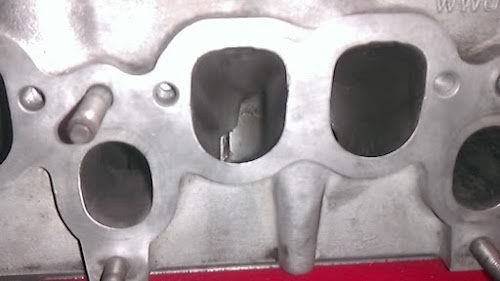
Pulled the valves out of the head and cleaned up all the ports. Installed with a one notch head gasket.
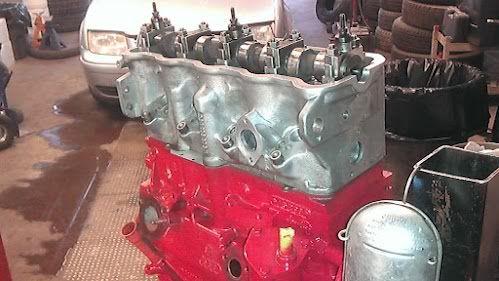
We resealed the engine and installed new intermediate shaft bearings. Everything else looked really good. Time for some turbos.
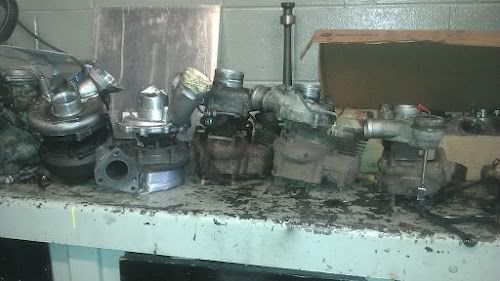
The whole family is here.
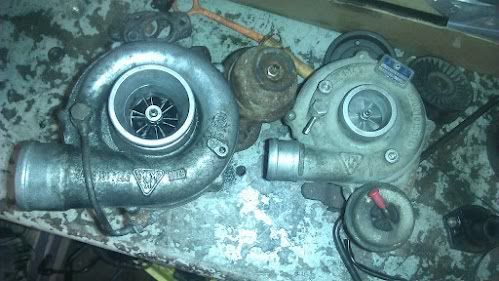
Here's the two that made the cut. K24 and a K03.
I pulled the k03 apart and put the compressor side in the lathe to cut an o ring groove on the inlet. I need an o ring on the inlet since the K03 receives pressurized air from the K24.
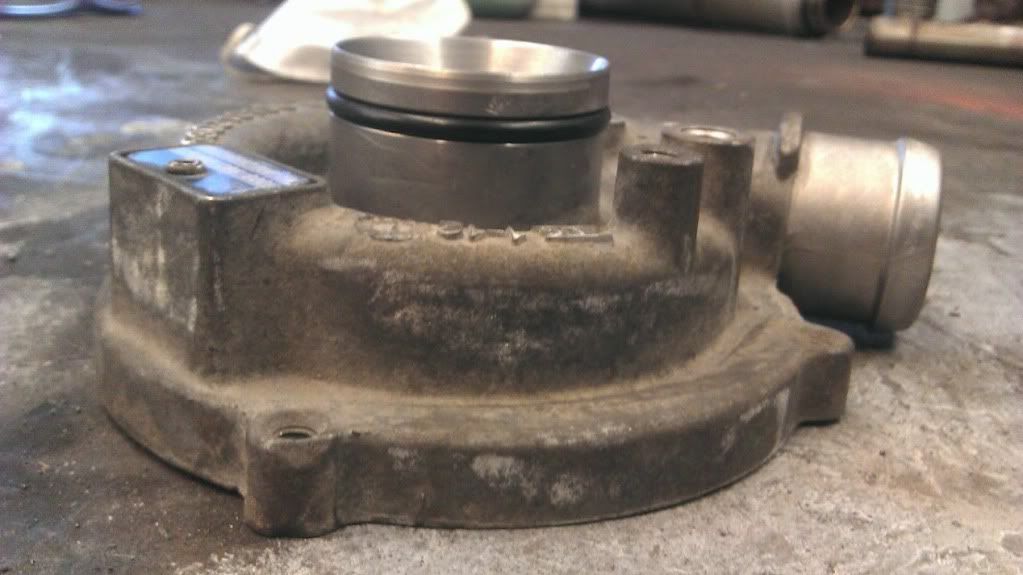
While I was at it I opened up the inlet as well.

I ported out the exhaust side a fair amount to make it flow a little better. I also opened up the wastegate since I figure it will be partially open most of the time. No pics of the exhaust side.
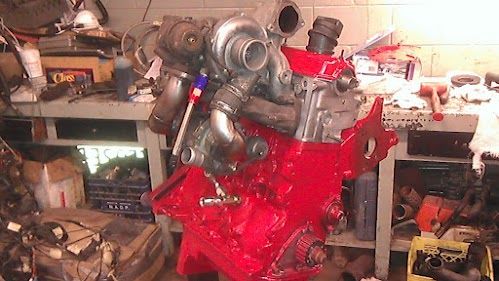
Here's one of the first test fits of the turbo assembly on the engine with a pd150 intake. In the end we used a k03 with a k24.
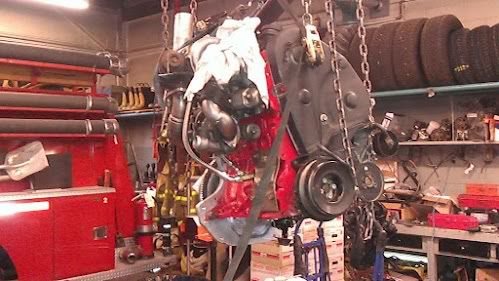
Time to put the motor in. As far as fueling goes, we installed smog .216 nozzles (edit: Now running bosio PP764 nozzles) and the pump got an 11mm head and camplate from an automatic alh. Malone did the chips for us. He said he pretty much maxed the fuel out for us.

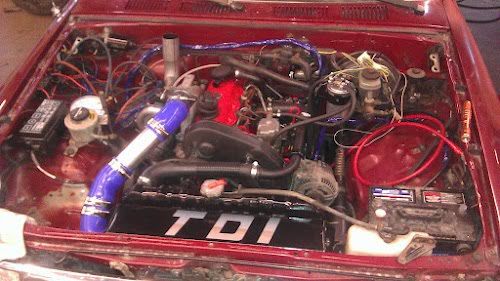
We used a ceramic disc for the clutch and ended up upgrading to the larger flywheel that the 22ret had. You can see the coolant flange I made to make the connection to the heater core a little easier. Plus space is a premium between the engine and firewall.
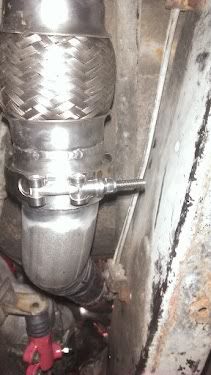
I also put an expansion joint between the two turbos on the exhaust to hopefully keep everything from getting stressed from the heat. We used number 4 S.S. braided teflon line for the oil feeds with reusable ends and number 8 lines for the return lines.
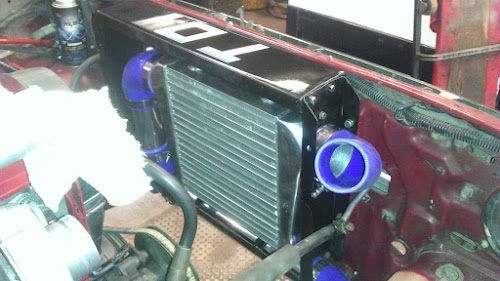
Motor's in. This was the best solution I could come up with for the intercooler. I built a box out of sheet metal about 4.5" thick since there is so much room between the engine and front of the truck. The stock Toyota rad then bolts right up to the sheet metal.
The motor mounts were pretty straight forward. I was able to use the toyota motor mount for the passenger side. I just had to cut off a bit of the bracket that bolted to the engine and weld it to the plate you see in the picture.
The driver's side took a bit more work. I cut out the existing pedestal off the frame and made one to fit the bmw mount I bought. I used the AC bracket for my mount. So to change the water pump you have to hang the engine up to get the alternator/AC bracket out. It's not a big deal since we did have a water pump leak that we had to take care of.

I used the toyota power steering pump and moved it to the passenger side. Surprisingly the High pressure hose reaches with no modifications. I built my own brackets for it and moved the resevoir to the passenger side as well. The battery also got relocated to the driver's side but eventually it will go in the box on the passenger side.
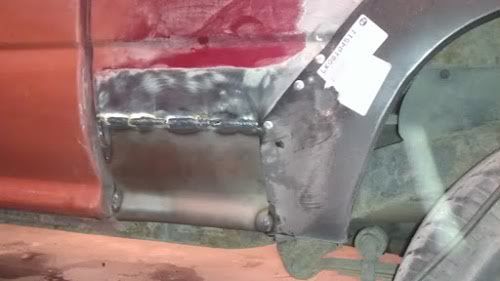
The oil pan had to be modified for clearance with the front diff. I pretty much cut a piece out, flipped it inside out and welded it back in.
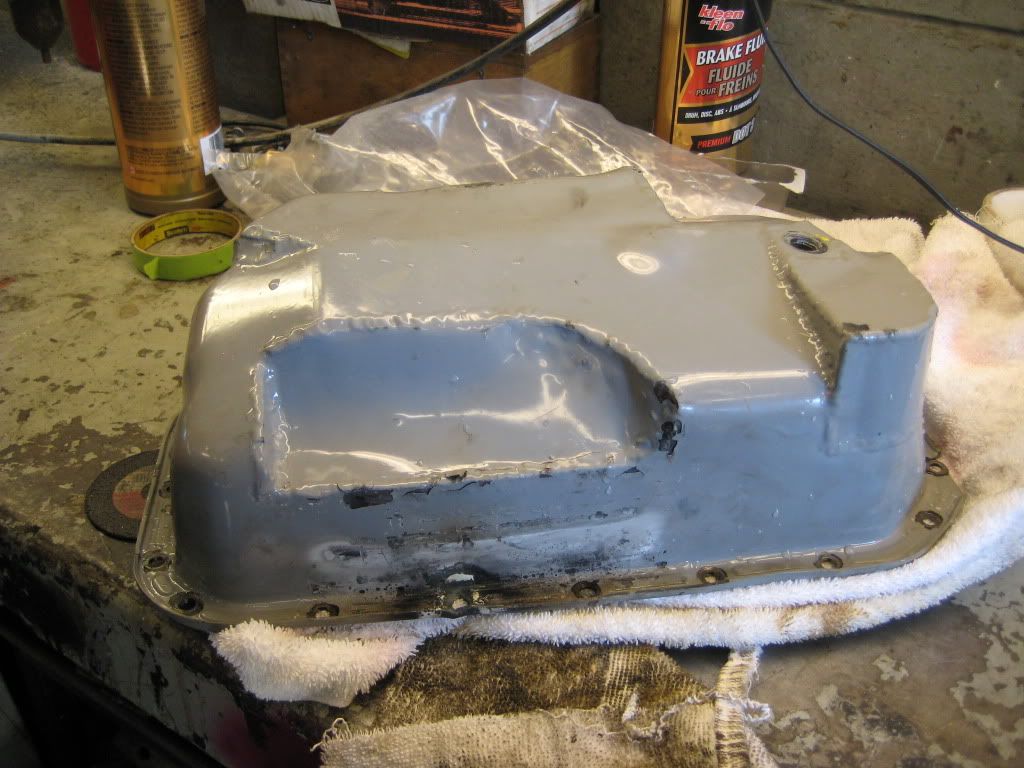
On the other side I made a cut, opened it up and welded a 1" strip of metal to fill the gap to regain my oil capacity I lost on the other side.
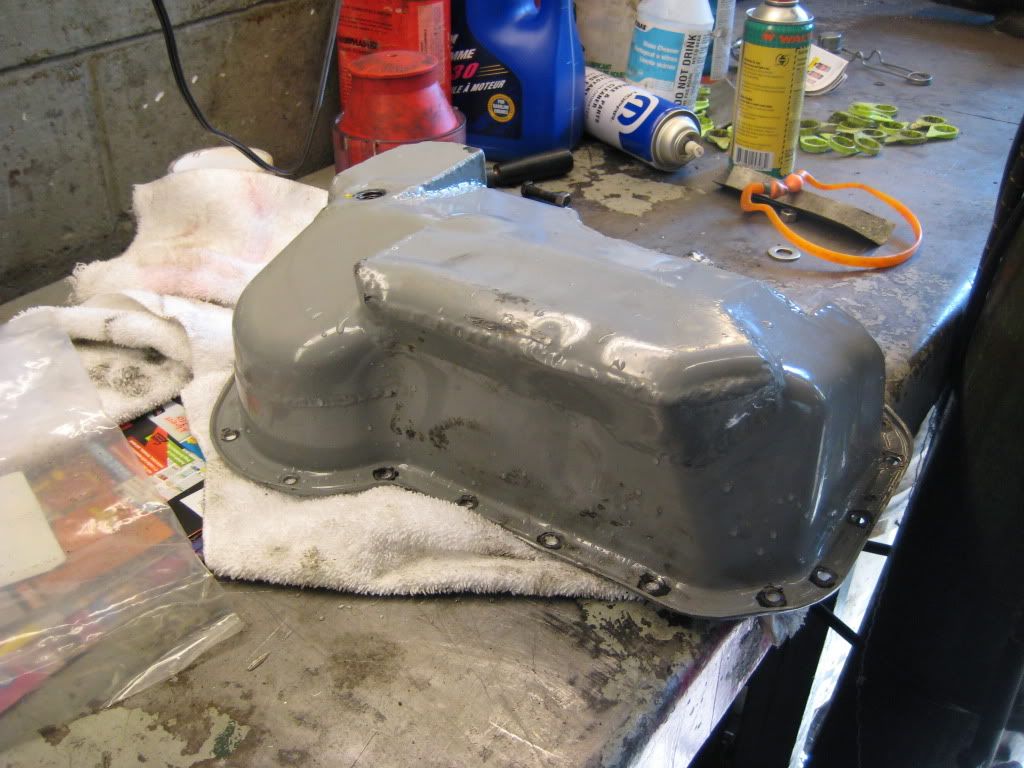
This oil pan was from my first truck but it's basically the same.
The exhaust was a little tricky. The downpipe was a tight fit and I had to use 2.25" pipe so that it could be removed without messing with the turbo.

Once I got past the tight areas I bumped up to 2.5" pipe. All mandrel bends. I used some v-band clamps to make things easier to come apart.
The truck got a HUGE high flow muffler that fit perfectly. The offset eliminated a couple bends as well.
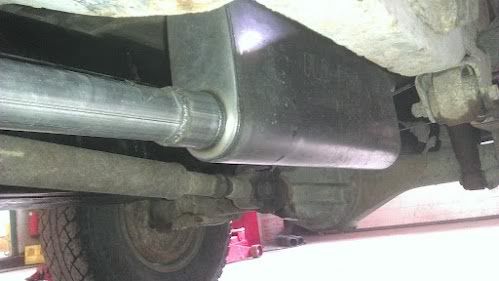
The entire exhaust comes out easily in three pieces even with the truck on the ground. If the transmission and transfer case ever need to come out it's only two v-band clamps and one bolt to remove the exhaust center section.
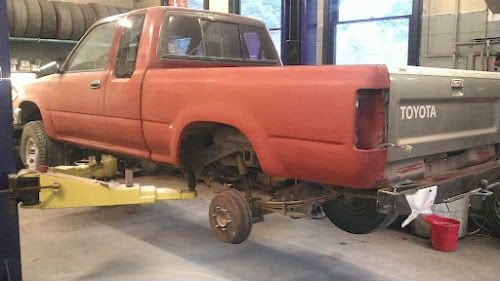
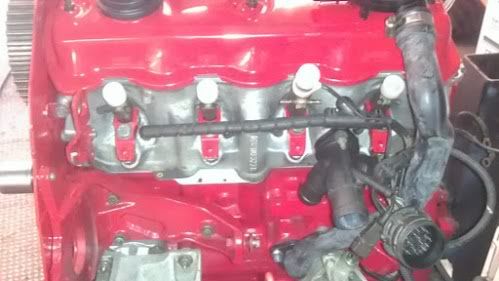
The truck is officially on the road. We got an air filter hooked up and got an electric fan from a Ford thunderbird installed as well. All that room we had between the engine and rad is gone.
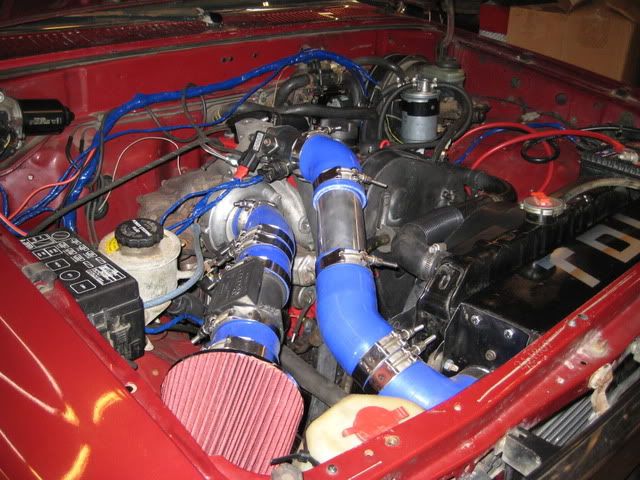

You can see the toyota coolant temp sensor in the upper rad hose. Works perfectly.
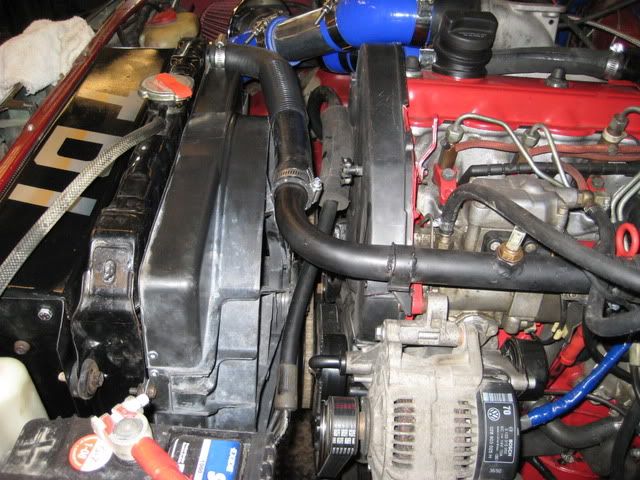
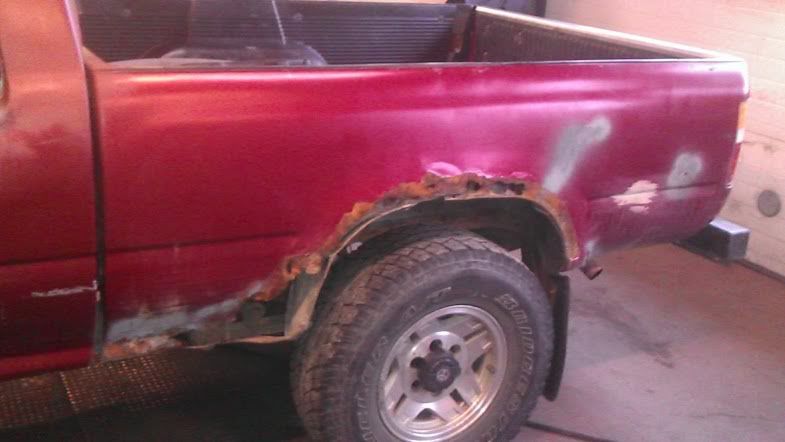
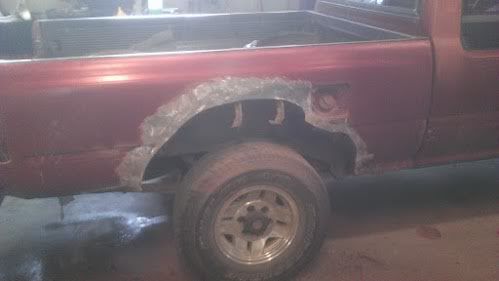
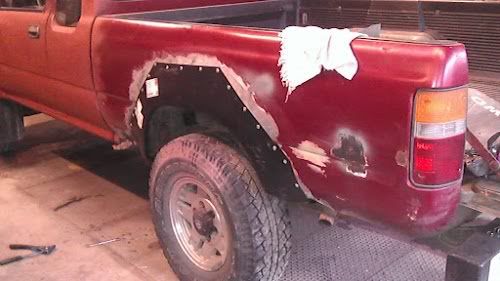
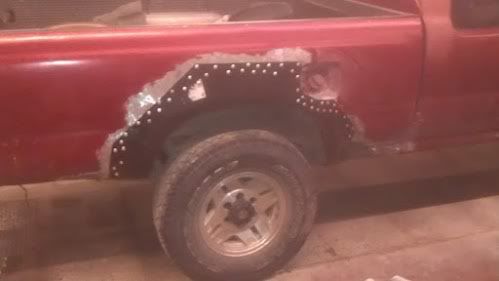
All we have left is to wire in the fan with a heavy duty 80 amp relay. The fan has a two speed motor so I'm setting it up run full speed on the lower temp setting of the VW sensor and the low fan speed will be set up with a switch in the cab. Time to get back to the bodywork, and new tires.