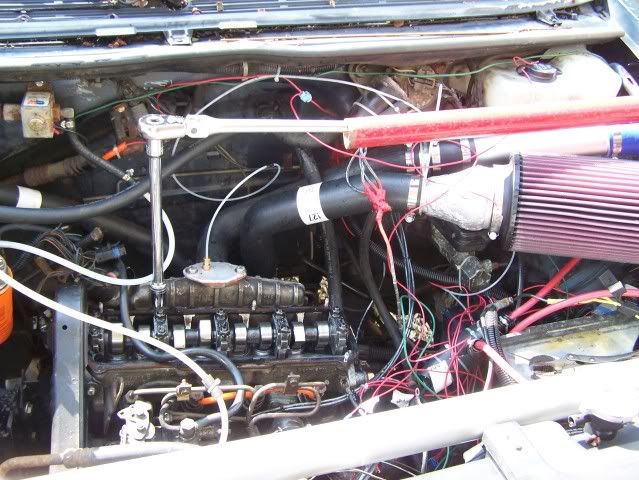
She Runs !!!!! Here's the punch line.. my patient wife recorded the first move under diesel power !!
I have a VW DIESEL Daily Driver ! http://s533.photobucket.com/albums/ee338/the_arb/?action=view¤t=100_5052.flvHere's the steps to get there. I ran the car for almost an hour. Still didn't have good power, but it got to operating temp. Then I retorqued the head bolts. (Didn't want to wait for studs - should have known it was not going to be my daily driver back in August ;-)
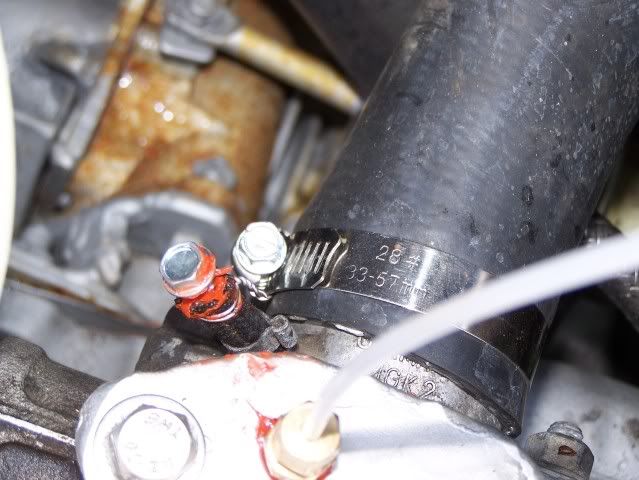
I noticed the fuel return line I used was swelling. There were no markings on the hose, so it must not have been fuel rated.
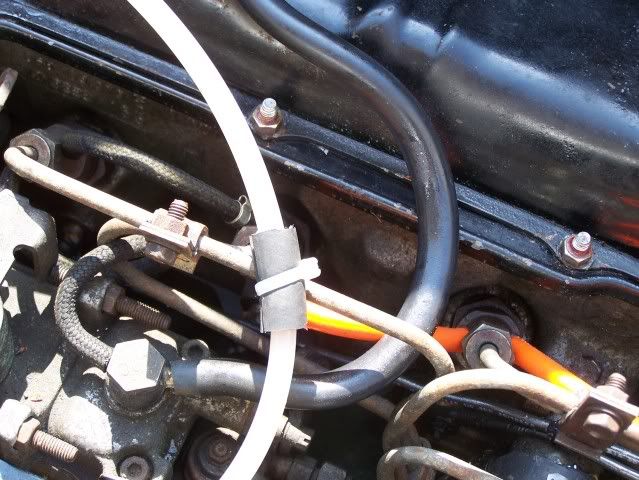
Fuel rated hose with clamps now..
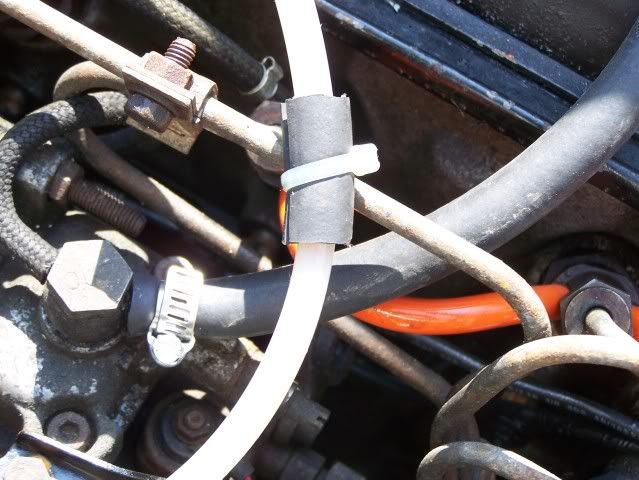
This lead me to see I forgot to close the line on the intake - so some boost would have been leaking here..
Hope this holds. It's small enough..
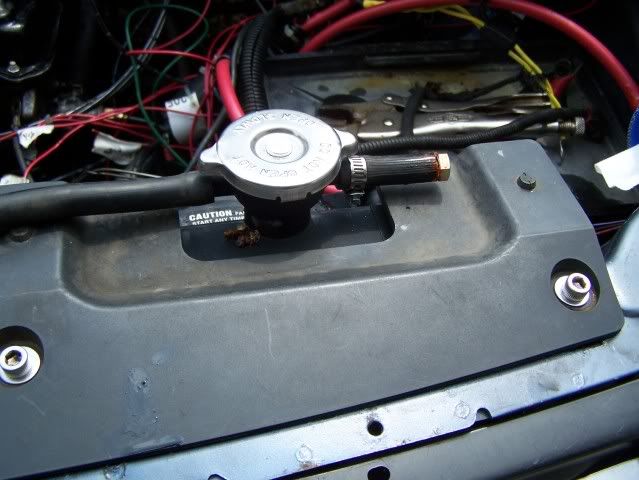
Next I sealed the radiator over-flow to the stock Chrysler recovery tank.
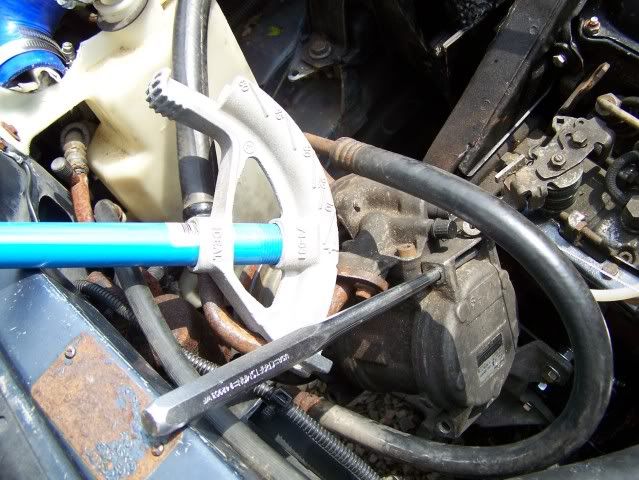
Next I mounted the a/c compressor aluminum mounting cradle and tried to mound the compressor.. No dice, the Chrysler location was further from the fan so I had to bend the metal lines on the compressor and the condenser.
Good old plumping tools. Hopefully this summer the a/c will still work. I'm leaving the belt off for now as I don't need a/c yet. The compressor mounted with 1 cm of clearance.
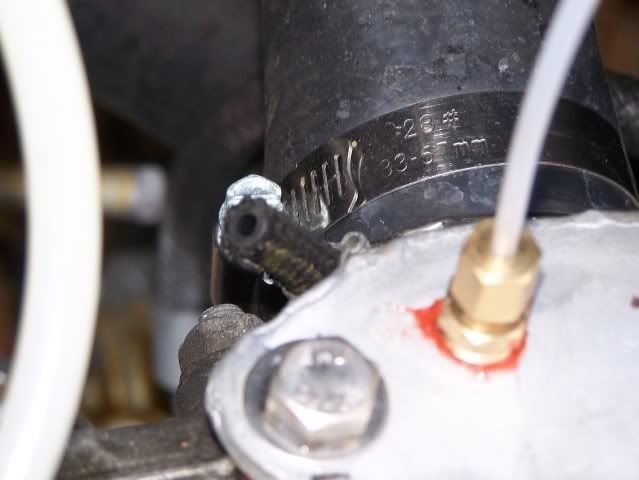
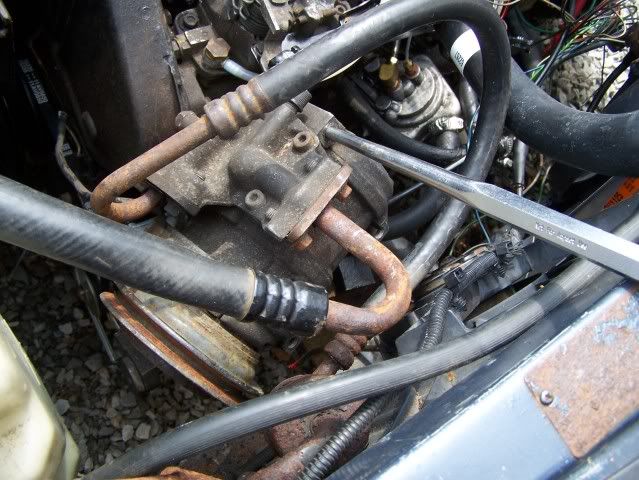
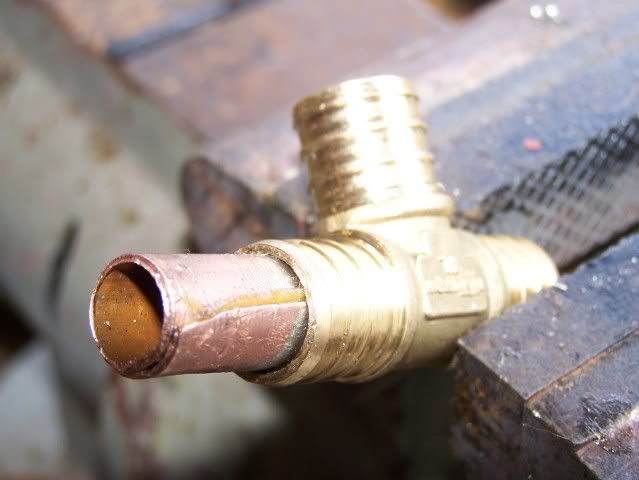
Next the leaking turbo return line / vac pump vent. I had used the stock VW hose and stretched it over the brass 9/16 barbed fitting. It cracked and was leaking. So, I took two pieces of 1/2" copper water line, cut it up the middle and rolled it to fix into the end and side fitting. I then soldered them in place and along the seam. This allowed new hose to the vac pump and the return fitting on the side of the block. I noticed some oil blowing by my turbo seals when I removed the I.C. loop. I think I'll install the stock turbo oil pan / return line now that I have one.
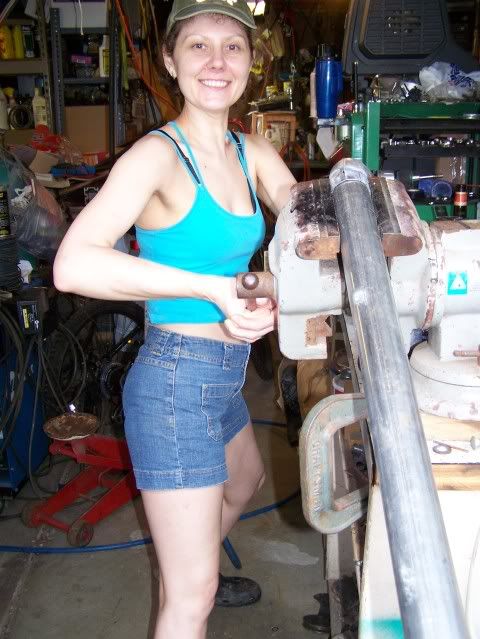
On to the exhaust. I clamped the flex joint to the down pipe. Next I needed about a 30 degree elbow. I did not have one, so I took a stock 90 degree and cut it, then cut the end 2 inches into 8 tabs. I spread these over the S.S. tube that would run to the muffler and back. My wife wanted our photos welding this with the TIG.
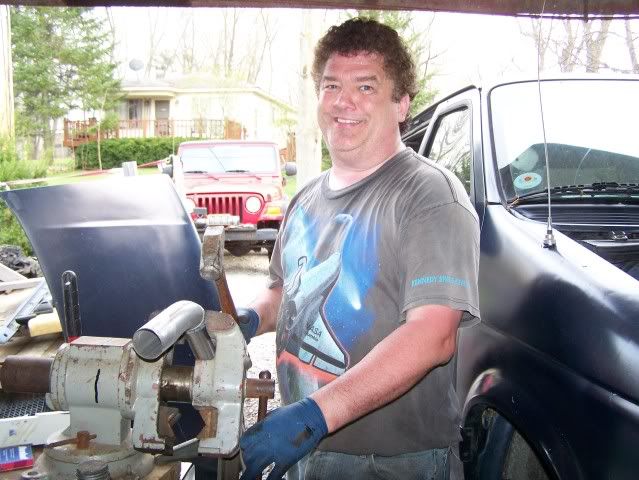
He was going to try welding for the first time, but not for this thin walled stuff.
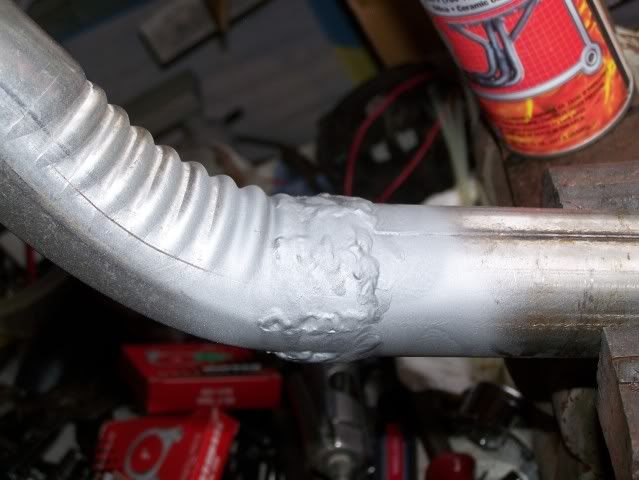
Here's the joint, now coated with ceramic paint.
Next I mounted the muffler and ran the S.S. back to the stock pipe that went over the axle. I had to relocate it to the center of the car, for now. And, as I drive in to work today (40 miles each way) it was not supported rear of the muffler, but nothing was dragging or making noise.
After this, I installed the remaining CV mounting cap screws and torqued them all. Next the axle nut retaining cap & cotter pin. Installed a few missing lug nuts from the front, and filled the tires to 36 psi. We went for a drive. After 4 miles or so, the engine developed great power ! We stopped at Sunoco to put the other 10 gallons into the tank to dilute the 10 gallons of old fuel (maybe a year old). Made a big difference. Now I have very little throttle to maintain 65 - 70 mph. At 70 I have 5 psi boost. 65 = 4 psi, 60 = 3 psi... I have not really gotten on it yet, but it feels like pulling the pop-up camper will be very doable. This morning I put a tie rap over the speedo sender so I don't loose it on the freeway.
Things yet to do -
Install hood.
bolt the speedo sender on / wire it.
Find the starter solenoid feed wire on the Chrysler side. We could not Sunday, so I spliced it to my aux fuel pump for now.
Find out why the GP relay is not working even with my pimped system. It was used, so it could be bad. For today I use a TIG welding rod to hot wire the GP junction to the battery. It starts right up, first time, even cold.
Attach the instrument cluster to the dash.
Measure mpg. On the way to work, the gauge didn't move... :-)

 Topic: 1.6L TD in a Dodge Caravan (Read 144735 times)